

Pan Sear Mastery A Complete Guide to Crisp Browned Flavor
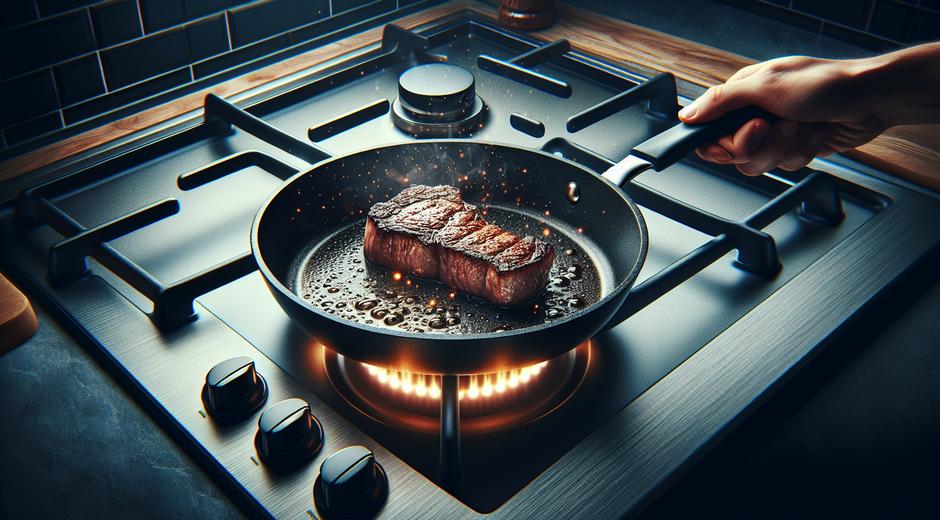
Pan Sear is a cooking technique that transforms simple cuts of meat fish and vegetables into dishes with deep brown crust and rich flavor. Perfect for busy home cooks and culinary novices Pan Sear offers a fast path from raw to restaurant quality without complex equipment. This guide explains the science behind great browning how to choose the right pan the ideal oils and practical tips to get consistent results every time.
Why Pan Sear Works The Science of Browning
At the heart of a successful Pan Sear is the Maillard reaction a chemical process that occurs when proteins and sugars in food are exposed to heat. When the surface temperature rises above a certain point flavor compounds form and the surface turns brown. That crust locks in juices and adds a contrast in texture that enhances the entire dish. Understanding this process helps you control variables like temperature moisture and cooking time so you can produce predictable tasty results.
Choosing the Right Pan
Not every pan is equal when it comes to Pan Sear. A heavy bottomed pan that retains heat distributes it evenly and prevents cool spots that inhibit browning. Cast iron and stainless steel are excellent choices because they tolerate high heat and develop a beautiful sear. Nonstick pans can work for delicate items but they often do not reach the same surface temperature required for deep browning. Preheating the pan thoroughly prior to adding the food is essential.
Oil Selection and Smoke Point
Oils differ in smoke point which is the temperature at which they start to break down. For Pan Sear you want an oil with a high smoke point so the oil does not smoke before the surface of the food begins to brown. Neutral oils such as grapeseed and refined avocado oil are favored for their high smoke point and clean flavor. A small amount of butter added late in the cook can boost flavor without compromising browning when used with care.
Preparing Food for a Perfect Sear
Dryness is your ally. Pat proteins or vegetables dry with paper towels before seasoning. Moisture on the surface creates steam which prevents the Maillard reaction and results in a pale surface. Lightly coat food with oil to promote contact with the hot metal and season right before the food hits the pan so salt does not draw out excessive moisture. For thicker cuts rest them at room temperature for a short period to allow even cooking from edge to center.
Temperature Control and Timing
Heat control is critical. A very hot pan yields a fast sear but you must be ready to adjust the heat to avoid burning. Begin with medium high heat and once the food is added watch for a steady sizzle. Do not move the food immediately. Allowing the proteins to set for the right amount of time creates a natural release from the pan and gives a uniform crust. For thick items a two stage approach works well sear on each side then finish in an oven to reach doneness without over browning.
Techniques for Different Proteins and Vegetables
Fish benefits from a very hot pan and minimal handling because flakes can break apart. For skin on fillets start with the skin side down and press gently to ensure contact. Chicken breast should be patted dry and seared skin side down first for maximum crisp. Steaks often benefit from a rest period after searing to redistribute juices. Vegetables can be Pan Seared in batches to avoid crowding which cools the pan and results in steaming rather than browning.
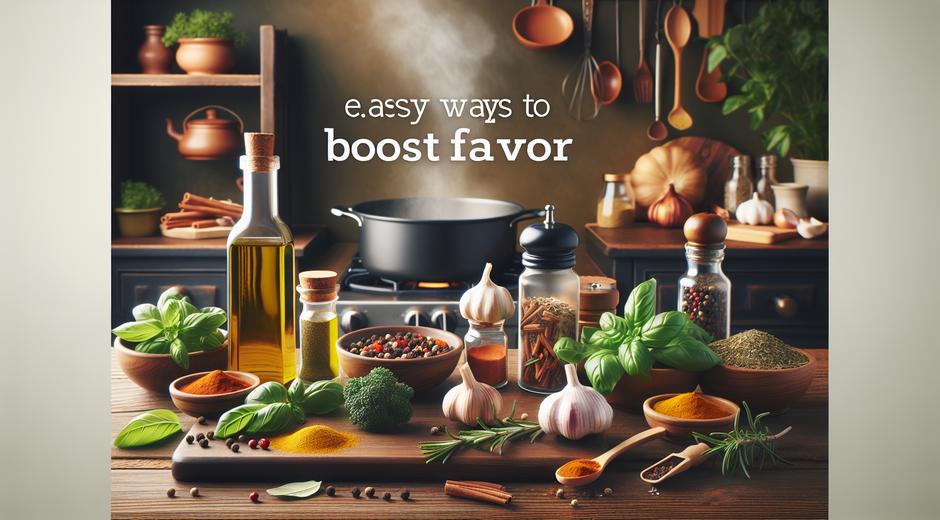
Seasoning and Finishing Touches
Seasoning with salt and pepper is classic but fresh herbs citrus and flavored butters can elevate a simple sear into a signature dish. Deglazing the pan with wine stock or a small amount of acid after searing picks up the fond those browned bits on the pan and creates a quick sauce. Finish with a pat of butter or a splash of good olive oil to add sheen and depth of flavor. Remember that simple is often best so let the crusted surface shine.
Common Mistakes and How to Avoid Them
One common error is overcrowding the pan which lowers the surface temperature and encourages steaming. Cook in batches and keep finished items warm in a low oven. Another pitfall is moving the food too soon which tears the crust and results in uneven browning. Using the wrong oil or insufficient preheating can also lead to dull pale surfaces. Finally avoid excessive flipping and trust the process of allowing contact time so the crust can form naturally.
Tools and Accessories That Help
A good set of tongs and a heavy spatula help turn items safely without breaking the crust. A thermometer ensures precise internal temperature for proteins and prevents overcooking. Splatter guards are helpful for keeping the stove tidy and can ease cleanup. For curated information about cookware and culinary accessories you can consult specialist sites such as Chronostual.com to explore product reviews and recommendations that match Pan Sear needs.
A Simple Step by Step Pan Sear for Chicken Breast
Follow this efficient approach to practice the Pan Sear technique. Pat the chicken dry and lightly oil the surface season with salt and pepper. Preheat a heavy pan until it is hot then add a small amount of oil. Place the chicken skin side down and press gently for uniform contact. Resist moving the piece until a golden crust forms then flip and finish cooking until the internal temperature is safe. Let rest briefly before slicing to keep juices locked in.
Recipes and Inspiration
Once you master the basic technique experiment with marinades spice blends and finishing sauces. Pan Sear works with tofu tempeh and hearty vegetables like cauliflower and eggplant. For recipe ideas and taste driven inspiration visit our main site where we cover many dishes and variations with clear step by step instructions and beautiful photography. Explore full guides and seasonal recipes at tasteflavorbook.com to make Pan Sear a staple in your kitchen routine.
Conclusion Consistent Results with Smart Habits
Pan Sear is an essential technique that rewards attention to detail. With a heavy pan proper oil selection dryness and heat control you can achieve a deeply flavored crust and tender interior across a wide range of ingredients. Practice timing and small adjustments and soon the method will feel intuitive. Embrace experimentation with herbs acids and finishing fats to develop your own signature take on this classic technique.
Practice regularly refine your process and the Pan Sear technique will elevate everyday meals into memorable dishes.